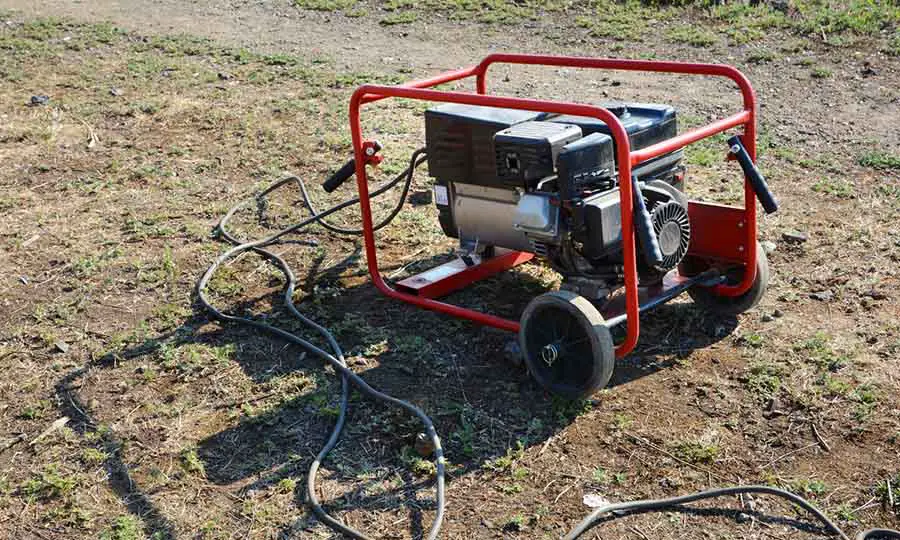
Power outages may prove to be inconvenient and financially disadvantageous. Some of the disadvantages of power outages are loss of data, lapses in business, or mere food spoilage. Portable generators are a great solution to prevent such inconveniences as they provide backup power in case of an outage.
Portable generators require proper ventilation to prevent carbon monoxide buildup around the unit or in the facility that can be extremely harmful. A report by OSHA states that there should be at least 3 to 4 feet of space on all sides of a generator to provide adequate ventilation outdoors.
Maintaining a portable generator is an important thing, which includes proper ventilation. If you want to know more about portable generators and ventilation, this article will help you.
How Far Away Should a Portable Generator Be From the House?
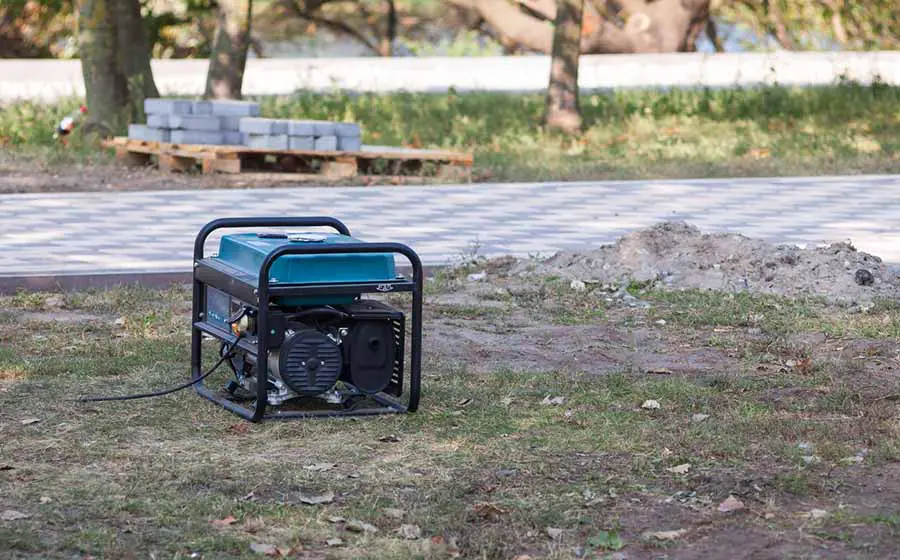
It is best to place your unit at least 20 feet away from the house. It is always essential to run your unit outdoors. Running a generator in an enclosed space increases the risk of injury or possible deaths due to CO poisoning. You should always position the engine exhaust away from house windows and doors.
Reports from the Consumer Product Safety Commission suggest that carbon monoxide (CO) poisoning is one of the most significant issues that has cost the lives of many. Portable generators can produce high levels of carbon monoxide gas, which is quite deadly.
The following are some essential tips to consider when operating your unit outdoors.
- Avoid running your portable generator in an enclosed space
- Run the generator at a distance of at least 20 feet from the house
- Direct the exhaust from the main openings of the house.
It is vital to keep your unit at some distance from your house to avoid carbon monoxide buildup in your home. The gas may enter your house through open spaces or vents. Ultimately, keeping your generator far from the house also reduces the amount of noise in the house.
A safe operating distance for your generator depends on your house, weather conditions, and specific unit. Generator carbon monoxide emissions are often much higher than other combustion devices.
This is particularly so as most units do not have a sophisticated emission system compared to automobile systems.
Always check the vent to avoid the exhaust from the generator from going back to the house. Another important safety procedure to follow is performing regular checks and maintenance. It is also essential to avoid placing the portable generator in the rain or wet areas.
However, there are other risks associated with placing generators outside the house. One is the risk of electroshock. Portable generators, particularly gasoline generators, are disadvantageous to use outdoors due to changes in the weather. These kinds of generators are not good at withstanding extreme weather conditions.
There are weather-proof portable gasoline generators that you can use in such cases. However, they may be very costly. It is also essential to avoid putting it in the rain to prevent sparking, accidental fires, or electrocution.
You may opt to buy tents specifically designed to accommodate your generator. This can help shield it from weather conditions that may interfere with its normal operation. Also, it is essential to make sure that the generator room is well-ventilated.
Can You Vent a Portable Generator?
One of the best solutions to carbon monoxide poisoning is venting your unit away from the house of your office. It is possible to vent it if you have an exhaust extension.
The biggest challenge you will likely face when using a portable generator is the exhaust fumes that cause carbon monoxide poisoning. A solution to this is venting the unit’s exhaust pipe.
The following is a detailed description of the steps to follow when doing so:
1. Obtain the Correct Dimensions
Start by getting the appropriate and correct measurements for the process. There are two main measurements to consider, namely:
- Measurements of the generator’s exhaust
- Length of the exhaust extension.
The first measurement involves determining the exact measurements of the diameter of the exhaust pipe of your portable generator. It is essential to take precise measurements of the diameter to avoid loose connections that may fall off easily under pressure.
After taking the measurements, you should add a little allowance to your obtained measurements of about 0.6 to 0.7 cm. The allowance is appropriate as it gives room for the exhaust extension of the portable generator to fit correctly.
The length of the exhaust extension is another important consideration. This measurement needs to be exact. A measuring tape is an appropriate tool that you can use to obtain this measurement.
2. Acquire the Correct Extension
Acquiring the proper extension is another crucial step in installing your exhaust extension to your portable generator. The type of extension you will use will significantly determine the results obtained. In most cases, the material of your choice will depend on your preferences or your budget.
One of the most common and reliable materials is the flex tube. The tubing is flexible and varies in length. It is essential to ensure that the tube matches with the dimensions earlier obtained for both the length and diameter of the exhaust pipe of your portable generator.
3. Prepare the Surface of the Exhaust of Your Portable Generator
Dust and smoke may accumulate on the exhaust. You may likely encounter problems fitting the exhaust extension. The situation may be worse in incidents of oil or lubricant residue.
It is essential first to ensure that the surface of the exhaust is clean from smoke, dust, or oil before attaching the exhaust extension.
4. Get the Right Clamp
During the initial measurements of the exhaust’s diameter, a clamp is necessary to ensure a strong connection between the exhaust of your portable generator and the exhaust extension.
In addition, the right clamp ensures that the tube does not fall during the operation of your unit generator. There are available generic clamps of the size of your choice in the market. Depending on your preferences, you may choose to use either hose clamps or pipe clamps.
5. Secure the Tube to the Exhaust of Your Portable Generator
Once you have obtained the right clamp, the next thing would be to attach the tube to your generator’s exhaust. The clamp has two screws that ensure that the connection is secure.
It is essential to tighten your screws to ensure that the connection is firm to avoid any leakages to the environment. You may choose to test if the connection is secure by moving the tube around. The connection is perfect if it does not show any movement.
6. Identify a Properly Ventilated Location
This is a crucial step during your installation process. After conducting the preceding procedures, look for a suitable location to lead the exhaust extension. Make sure that the place is far from the house or the office.
7. Test your Installation
This is the last step of your installation process. There are chances of errors occurring during your exhaust extension installation. The clamp may be loosely fit, or you may notice that the hose is damaged. It is thus essential to conduct a test run to ensure that the generator is running effectively.
You may choose to run the portable generator for a short time of about 8 minutes. During this time, it is essential to observe the exhaust connection or the presence of leakages. In the case of such errors, refer to this procedure to rectify the mistake.
Do Generators Need Ventilation?
Generators need ventilation to ensure proper air circulation to avoid the risk of hazards such as the accumulation of toxic exhaust fumes, overheating of the generator, or risk of fire. Ventilation is therefore necessary for improving efficiency and for the safe operation of the unit.
Ventilation ensures:
- Proper working of the engine during the combustion process
- It helps to alleviate heat produced by the unit.
- Purging of harmful fumes to the environment
- Reduces the risks associated with the unit, such as fires, deaths resulting from carbon monoxide
It is thus essential to consider the design of the generator room before purchasing one. In detail, ventilation controls the areas discussed below:
The Temperature of the Generator Room
Operating a generator leads to very high temperatures in the generator room. Ventilation helps to control very high temperatures. A perfect way to do this is to use ventilation fans that keep the room at an average temperature, preventing the equipment from getting overheated.
The size of the fan depends on various factors. Some of these factors include:
- The size of the generator
- The distance or footage of the generator room
Understanding the essential characteristics and ventilation system and design of the unit can go a long way in helping you choose a fan size.
The following are the types of ventilation fans in the market:
- Vane-axial
- Tube-axial
- Propeller
- Centrifugal
The choice of these fans depends on the ventilation air, volume, and pressure requirements. The listed fan types have specific qualities making them suited for various environments.
Airflow and Circulation
Ventilation ensures there is a steady flow of air in the generator room. The generator requires air for complete combustion in its cylinders.
Air Cleanliness
Ventilation allows for the removal of harmful fumes and odors in enclosed spaces. The following are considerations for an indoor generator setup to ensure enough ventilation in the room:
Accessibility
It is advisable to provide ample space between any objects or walls and your generator. Accessibility gives you ease for inspection or maintenance.
Routing
For the proper operation of your unit, it is crucial to have the correct ventilation air routing. Maintaining the right temperatures in the unit room is impossible without adopting an appropriate routing strategy.
There are four common types of ventilation systems with varying routing factors. Below is a description of each of them.
Type 1 – Routing Factor of 1
This ventilation system sucks air from outside into the engine room through ducts. The ducts are routed in between the engine and discharge air near the bottom of the generator.
Type 2 – Routing Factor of 1
The air outside enters the engine room through ducts and routes, similar to the type 1 ventilation system. However, in the type 2 design, airflow is directed under the engine allowing the air to discharge upwards.
An economical way to achieve this design is by adopting a service platform. You may build this platform around the unit’s engine, particularly the top of the duct.
Type 3 – Routing Factor of 1.5
Type 3 is another alternative ventilation system if type 1 or 2 are not feasible. Type 3 has a higher routing factor and requires approximately 50% more airflow.
Outside air enters the engine room through the utilization of its large ducts. The inlets are placed as far from the heat sources as possible.
It is best to mount the ventilation air exhausts at the room’s highest point. They should be directly over the heat sources.
Type 4 – Routing Factor of 2.5
When the three ventilation systems types fail to give the desired output, you may incorporate a type 4 ventilation system. This type is less effective and requires two and a half times the airflow of the type 1 system to produce the desired ventilation.
Air is brought into the engine room through supply fans and discharged over the engines. For this ventilation type to be effective, you should place the exhaust fans at the corners of the engine room.
The ventilation type works by mixing hot air in the engine with cool outside air. It is an effective ventilation system only if large capacity ventilating fans are present.
The following are a few primary considerations when designing a ventilation system for your unit:
- Fresh air inlets ought to be located far away from the source of heat.
- Ventilation air should be exhausted from the generator room from the highest point, preferably over the engine.
- Ventilation air inlets should be appropriately positioned to prevent stagnant air near the inlet of the generator.
- The ventilation source ought to flow over the generator horizontally to cool the alternator and the internal heat generated from the unit.
- You should place the exhaust fans above the generator to remove excessive heat and undesired fumes or emissions.
- Limit ventilation air supply blowing directly towards the unit’s engine components.
Air Duct
Your duct system should incorporate multiple turns. It is advisable to go for a curvature design over a radius design. A radius design requires more energy to push air through sharp bends, which can ultimately reduce airflow in the generator room, increasing the risk of leakage.
It is essential to check the design of the ducting and ensure that it can be able to withstand pressure during operation.
Cooling methods
There exist two common ways of cooling a generator. These are air cooling or water cooling. In both methods, fast heating and fluid substances release temperatures from the generator to the environment.
How Do You Calculate Generator Room Ventilation?
You can calculate the generator room ventilation using the formula V=((H / D x Cp x T)+ Combustion Air) X F where:
- V = Ventilating Air (m3/min), (cfm)
- H = Heat Radiation from engine, generator in (kW),(Btu/min)
- D = Density of Air at air temperature 38°C (100°F). The density is 1.099 kg/m3 (0.071 lb/ft3)
- CP = Specific Heat of Air (0.017 kW x min/kg x °C),(0.24 Btu/LBS/°F)
- T = Permissible temperature rise in engine room in (°C) or (°F)
- F = Routing factor depending on the type of ventilator system
A well-designed generator room should maintain engine room temperatures ranging from 8.5 to 12.5°C. For example, if the room temperature is 24°C when the engine is not operating, you should maintain a room temperature of between 32.5°C and 36.5°C during generator operation.
The generator room ventilation for a unit with type 2 ventilation routing, heat ejection value of 659kW with a rise in engine room temperature of II degrees Celsius can be calculated as follows:
V=((659 / 1.0099X0.017X11)+ 0)X1=3206.61 m3/min
where the value
- 1.0099 is the air density
- 0.017 is the specific heat of air
- 11 is the rise in temperature
- 1 is the routing factor for type 2 ventilation type
Conclusion
Portable generators require adequate ventilation for proper operation and ensuring safety. It is best to have approximately 3 to 4 feet of space on all sides of your unit to establish adequate ventilation.
Also, it’s crucial to operate your unit outdoors or in a well-ventilated generator room to ensure a continuous supply of air. Generators pose the risk of carbon monoxide emissions detrimental to your health. Installing a carbon monoxide detector in your home or office is necessary when operating a generator. Alternatively, you may decide to vent your unit away from your home to prevent carbon monoxide poisoning.