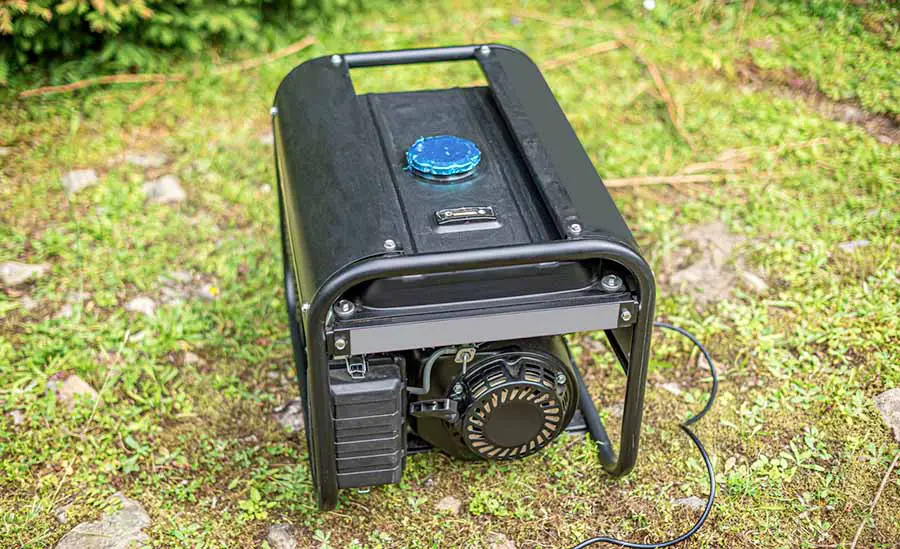
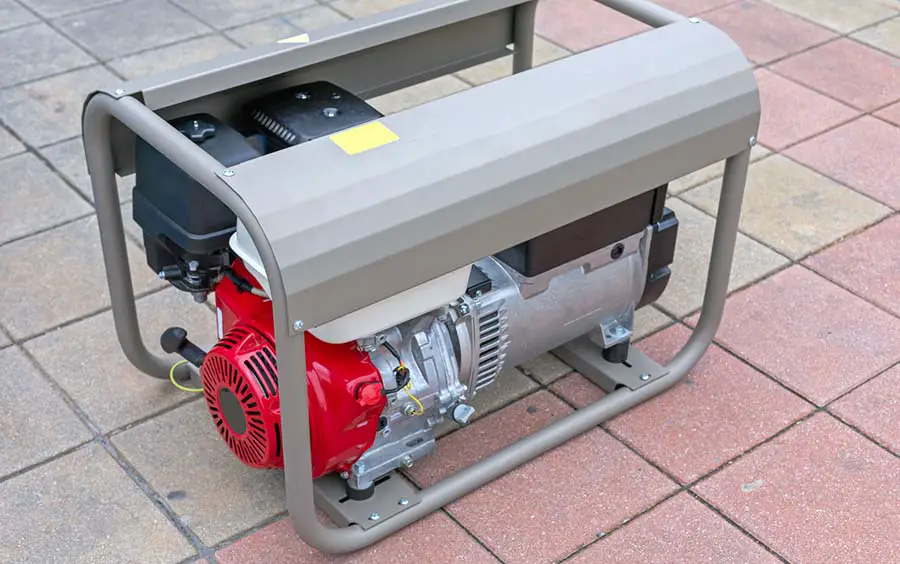
All electrical equipment heats up at some point during use, and a portable generator is no exception. The generator parts revolving creates excessive energy and heat, which escapes via the exhaust pipe.
Portable generator exhaust pipes can reach temperatures ranging from 550 to 900 degrees Fahrenheit, but usually, they stay around 600 degrees. Some generator exhausts get hotter than others, depending on fuel type, generator size, unit model, and how long you’ve been running the generator.
Heating up is normal for any portable generator. But if the temperatures get too high, there is a problem. Hence you need to monitor and control its heating. We’ll give you tips on how to control overheating and other fundamental insights in operating portable generators.
How Hot Does a Generator Exhaust Pipe Get?
A generator’s exhaust temperatures can be between 550 to 900+ degrees Fahrenheit. Sometimes the temperatures can get higher than this range. However, in such a case, it would be best to check what is causing it as that is abnormal.
Overheating will cause you several problems, as we have highlighted above. Above everything, it will accelerate the generator’s tear and wear, resulting in its ultimate breakdown. Thus, you’ll have to spend heavily on repairs or even replacing the entire set as it can become unrepairable.
Therefore, seek to understand why your generator is overheating and rectify the cause.
Can a Portable Generator Overheat?
A portable generator can overheat. It is a common occurrence, and it will bring a lot of problems for the generator. Among the possible effects of overheating include:
- It will cause the alternator also to overheat. Hence, it will result in the destruction of the alternator’s windings which is detrimental to insulation. Also, the windings can melt if the heat exceeds their threshold resistance limit. It can, as a result, lead to a fire.
- It is also detrimental to the generator’s slip rings and brushes. Exposure to high temperatures will induce unsoldering of these parts. As a result, the functionality of the generator will be affected.
- The rotor can warp due to overheating.
- It will also induce the deterioration of the bearings’ functionality. Sometimes they can melt if the heat is excessive.
- It can also damage the cylinder head’s gasket. As a result, it will hamper the flow of the coolant to the piston cylinder.
- The generator’s radiator core can also malfunction due to overheating. If it’s inoperational, replacing it is imperative as the generator cannot work without the radiator. Hence, overheating will result in spending on repairs.
- Lastly, overheating will also damage the exhaust valves and other parts that are heat sensitive.
What Causes Portable Generators to Overheat?
Here are some of the possible reasons your portable generator is overheating.
1. Radiator Blockage
A generator’s radiators contain water which acts as a coolant to the system. If the radiator is broken, it will have water leakage. As a result, it will not supply cooling water as it ought to. Also, the radiator could be blocked by dirt or other materials. In that case, it will also not deliver the right amount of water to cool the system.
Hence, it’s imperative to keep the radiator and pipeline in top condition.
2. Malfunction Cooling Fans
It is also possible that your generator overheats because the cooling fans are dysfunctional. Often, the underlying cause of cooling fans damage is high tension. Without a fan to waft cool air over the system, it will, without a doubt, overheat.
Therefore, if your generator overheats because of faulty cooling fans, you need to fix them.
3. Blockage in the Exhaust Pipe
Your generator’s exhaust pipe is the channel through which burnt gases are expelled from the system. At times, you might find that accumulated soot blocks up your generator’s exhaust pipe. Often, this results from poor combustion or using low-quality fuel.
The exhaust gases are usually hot. If they cannot be expelled from the generator, they will cause a heat buildup in the system. Ultimately, it will overheat to red hot and can cause problems to the functioning of the generator set.
Solving this problem needs more than just unblocking the exhaust pipe. You need to check what is causing the poor combustion. Ideally, there should be no accumulation of soot in the exhaust. Also, if you find traces of oil in the exhaust, that is a sign of an issue with combustion.
Lastly, check if your generator has a backfire or an afterfire. The two are indicators that something is amiss in the combustion system, leading to exhaust blockage.
4. Blockage of the Oil Filter
Check if your oil filter is blocked, as it could be the reason your generator is overheating. If it is blocked, there will be a poor supply of lubricating oil to the system. As a result, there will be overheating due to friction.
5. Accumulation of Dirt
Regular cleaning of the generator on the outer parts is imperative as it prevents dirt accumulation. Dirt, grease, and dust are insulators. Hence, when they coat the generator’s surface, they will hamper heat dissipation.
As a result, it will start overheating as the excess heat is retained within the system rather than emitted to the surrounding area.
6. A Faulty Gauge
Sometimes, your generator could be overheating because there is a fault in the functioning of the thermostat. The sensors could be dysfunctional and thus cannot detect an increase of the generator’s temperatures to unwanted levels. As a result, it will overheat since the dysfunctional thermostat hampers the cooling aspect.
Replacing the thermostat can go a long way in solving the problem. However, you must first ascertain that it is the cause of the overheating.
7. Overloading
Overloading is hazardous to the shelf life of your generator. If it becomes a common occurrence, the generator will stop working as the excess heat will cause permanent damage to critical parts.
Also noteworthy is that you need to find a regular load balance. Irregular loading of the generator with loads on extremes will cause it to overheat. Hence, make sure that you use the recommended load limit by the manufacturer.
Do not put a load smaller than 30% of the designated capacity as it will also affect the generator’s functioning.
8. Clogged Diesel Injectors
Make a habit of checking if the diesel injectors are in good condition because if they are clogged, the generator will overheat. Clogging means that the generator will strain to deliver fuel to the combustion chamber. As a result, it will overwork and thus overheat.
Clogged diesel injectors will also affect the generator’s output power. If it does not get sufficient fuel to the combustion chambers, it will struggle to produce sufficient power.
9. High External Temperatures
Overheating could result from high temperatures in the setting where the generator is placed. When the outside temperature is high, the air density goes low. As a result, there is a low air gradient between the surroundings and the generator. Thus, the generator receives less air.
With a limited supply of oxygen, regular combustion is not possible. As a result, the generator will overheat as it tries to make up for the air shortage. The overheating is more profound if the generator has a large load. Hence, the positioning of your generator is essential in determining its efficiency.
10. High Humidity
Similar to the high external temperatures issue, high humidity will also cause overheating. With high humidity, there is poor cooling of the generator. High humidity means that the exterior is full of warm air.
Hence, there is no sufficient heat gradient to facilitate cooling of the generator resulting in its overheating.
11. Inside Environment
The immediate room where you have placed the generator will also have a significant impact on its operation. For instance, if your generator is in the basement, there may be limited airflow. As a result, it will not cool efficiently. Thus, it’s imperative to have efficient ventilation to facilitate its cooling. Otherwise, it will overheat.
Also, if another machine near the generator produces heat, it will undoubtedly affect the generator. There will be excess heat in the room that will hamper efficient cooling.
Can You Vent a Portable Generator?
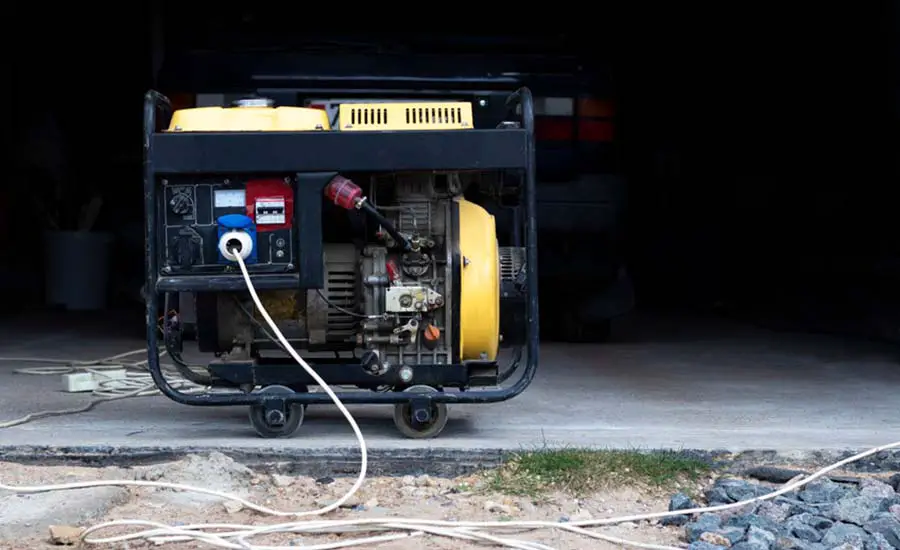
You can install vents for a portable generator for the same reasons you would vent any other generator. A generator emits gases such as carbon monoxide, which is fatal to our health. It is imperative to vent a portable generator, especially if you are using it in an enclosed area such as in the garage.
Typically, running a generator in the same room where you and your loved ones are staying is not advisable. But at times, you may have to run it in the garage where you are also working due to inevitable reasons.
For instance, the most common compelling reason to operate a generator is due to power outages. A mains power problem will result from a storm or other harsh outside weather conditions. In such instances, you can also not put the generator outside as it will also get damaged.
Therefore, you might have no other option but to run your generator indoors. But this poses a huge problem to your family’s health. There is a chance that the fumes will enter your house, especially if the generator is in the same building. Thus, venting the generator is necessary to prevent the probable health risks of exposure to carbon monoxide.
How Do You Vent a Portable Generator?
Primarily, there are two means to vent a portable generator. First, you can connect a flexible pipe to the generator’s exhaust leading to a ventilated area. Its length will depend on how far the ventilated area is situated. Alternatively, you can connect it to a PVC pipe that leads outside. The PVC pipe will discharge the fumes into the atmosphere.
Either option will work effectively to ensure the generator’s fumes are directed where they are harmless. Nonetheless, the first is quite temporary, although it’s the simplest to implement. You can opt for the first option if you live in a rented house. It does not require you to make perforations and permanent installations to the house.
However, if you live in a rented house, you cannot install a permanent exhaust leading outside the house. Nonetheless, it is the best for those living in permanent homes. It allows you to start your generator at any instance without worrying about the ventilation.
Let’s now look at how to go about the installation process for both methods as they are similar.
1. Determine the Generator Exhaust Diameter
Identifying the exhaust’s diameter is imperative in determining the pipe size to use. Hence, you need to measure it first. You can use a tape measure or any equipment that can measure length.
2. Buy the Rightly Sized Exhaust Tube
Once you have measured the generator’s exhaust diameter, it should guide you in identifying the appropriate exhaust tube size. Ideally, if you are looking to go for the option of installing a tube that will take the fumes to a ventilated room, a flexible tube is the best. However, it will also be effective for the permanent option we’ve highlighted earlier.
The best tube size should be at least larger than the diameter of the exhaust. Such a tube will facilitate efficient fixing onto the exhaust. You will need to use a clamp to ensure it does not leave space on the sides, leading to the leaking of the fumes.
The best tube size should be approximately 0.25 inches thicker than the exhaust tube’s diameter. For instance, say your exhaust is 2 inches thick. In such a case, the best size tube should be approximately 2.25 inches thick.
The length can vary depending on the room’s location or the distance to outside for the permanent vent solution. I’d recommend the Walker Exhaust 40000 Exhaust Pipe.
Hence, it will be durable for an extensive period. If your tube will be exposed to outside, it is best to have a rust-proof model such as the above type. Also, the tubes come in different sizes, and thus you can choose the type that best suits your use.
3. Choose a Clamp
A slightly oversized tube will require a clamp to facilitate the creation of a leak-free joint. If carbon monoxide leakage occurs at the joint, it would be pointless to have an exhaust tube leading outside. Hence, finding the proper clamp is important.
For clamping, the best size is one that matches your generator’s exhaust diameter for an airtight connection. They are made using stainless steel and are thus break-proof. It makes them ideal for tight sealing of the joint leaving no room for carbon monoxide leak.
The recommended clamps are also available in different sizes. Hence, you can pick the one that best suits your generator exhaust vent. Additionally, they are rust-proof and will thus withstand harsh weather. Remember that the exhaust fumes contain some water vapor. Therefore if your parts are not rust-proof, they will rust after some time.
4. Fix the Flexible Exhaust Tube
Once you have selected the correct size exhaust tube and clamp, you can mount them on the generator’s exhaust. You can do this all by yourself as it is not a technical procedure. Simply insert the exhaust tube into the generator’s exhaust and, using a screwdriver, mount the clamp and tighten it to prevent leakage of fumes.
5. Direct the Exhaust Tube to Your Ideal Location
For the temporary vent option, there is no more work for you to do. You simply need to direct the exhaust tube to the ventilated area whenever you switch on the generator. It can pass through the window or any other appropriate opening.
You’ll need to drill a hole where the exhaust tube will pass through for the permanent fix option. Remember you need a PVC pipe leading outside for this option. The diameter of the hole you make will rely on the flexible tube’s diameter. Do not make a massive hole as it will pose problems fixing the exhaust tube and the PVC pipe on the outer end.
The ideal hole size should be at least a few inches larger than the exhaust tube. After you’ve made the opening, insert the flexible exhaust tube through the hole to the outside of the building.
6. Select the Right PVC Pipe Size
Next, you need to find a PVC pipe that perfectly fits the flexible exhaust pipe. The ideal size of the PVC should be the same diameter as the generator’s exhaust. Such size will ensure that the PVC perfectly fits into the flexible exhaust pipe from inside the house.
Concerning the length of the pipe, you should choose one that extends up the house to the position of the chimney. There is no likelihood of the fumes finding their way back to the house at such a height. The best height is at least 6.5 feet above the height of the house’s roof.
A tape measure will be handy in determining the ideal height of your PVC pipe.
Also, to attach the PVC, you need other components such as a conduit clamp and an elbow fitting. The fundamental thing in selecting these components is that you should get their sizes right.
For instance, when selecting the conduit clamp, make sure that its internal diameter is the same size as the diameter of the PVC pipe. A slightly larger diameter will also work. However, do not select one with a smaller size as it will pose a problem during fixing.
Next, you need to find the elbow fitting of the correct size. Its inner diameter should match the outer side of the PVC pipe for a perfect fitting. You cannot afford to gamble on the size of this component as a smaller or larger one will not work.
Additionally, you’ll need to find the right size vent cap. Since your PVC will be exposed to the atmosphere, rain and snow can enter from the top. The water can be damaging to the exhaust system if it travels back to the generator. Hence, a vent cap is an integral part of the exhaust vent.
We recommend the Supco ECAP321 Pvc Flue Cap. It is easy to fix, and with a rounded area on the top part, it’s not easy for ice or water to enter the PVC pipe. Also, make sure that the PVC vent cap is of the correct size. Ideally, its interior diameter should match the exterior diameter of the PVC pipe.
Once you have these components ready, you can fix the PVC on the wall.
7. Attach the Exhaust Tube to the PVC Pipe
After you’ve set everything up, the last step is to join the exhaust tube to the PVC. If you have chosen the size of the parts, this step should be straightforward. Simply enter the PVC inside the exhaust tube and clamp them tightly.
Do not forget to regularly maintain the vent system to ensure that it remains in top condition.
How Much Ventilation Does a Portable Generator Need?
A portable generator will require sufficient ventilation to perform effectively and safely. Ideally, creating the right conditions for the generator needs to be done when making the generator enclosure.
The recommended space between the generator and the enclosure by Occupational Safety and Health Administration (OSHA) is approximately 3 to 4 feet.
You should leave space on all sides of the generator. Hence, the generator should be placed centrally in a room with a good air supply. Having an air fan in the room is a bonus in improving the performance of the generator.
It is also imperative to have a thermostat to monitor the temperature changes and control the functioning of the fan. Excess heat in the generator room is dangerous to the functionality of the generator. It can also induce a fire. Hence, it is imperative to keep the temperatures well regulated, especially when the generator is working.
Ventilating the generator room is also essential as it prevents the accumulation of carbon monoxide. The gas is fatal as it can cause death. Therefore, it is imperative to ventilate walk-in generator rooms efficiently. But the primary safety measure is never to operate your generator in your living area.
Hence, it would help if you constantly monitor the carbon monoxide levels in the generator room. The device is battery operated and thus will monitor the CO levels even when there is a power outage.
The detector has an alarm system that will alert you when CO levels rise above a specific limit. It is designed to make an 85 decibel sound when the CO reaches extreme limits. Hence, you cannot miss out on hearing the alarm warning.
You can also consider placing the detector in your living room. It’ll detect if there is some CO from the generator room entering your house.
Why You Need a Portable Generator Box/Room
We have mentioned that a portable generator will emit carbon monoxide, and the gas can be fatal if it accumulates within an enclosure. Thus, you might be wondering why enclosing a generator in a box or room is essential, after all, if it causes accumulation of the deadly gas.
There are several reasons to build a generator box or room.
Protection from Harsh Weather
Generators are needed when there is rain or a storm outside, causing a power outage. As a result, keeping the generator in the harsh weather will also result in its breakdown. Having an enclosure around it ensures it’s shielded from harsh weather conditions.
The manufacturer will also not cover destruction resulting from exposure to harsh weather. Thus, for increased longevity and assured performance, shielding it is imperative.
Noise Control
Imagine living in a neighborhood where you can hardly sleep as generators are humming loudly. Noise control is one of the key reasons why having the generator enclosed is essential. In some areas, it is illegal to have the noise high to certain levels. Hence if you are in such a neighborhood, you’ll have to control the noise by building a room or a box.
Keeping Wildlife Away
Leaving your generator unshielded may welcome small animals such as rodents. The animals gnaw at anything they can access and thus will not hesitate to tear the generator’s wires to shreds.
Other animals that are likely to be a menace to your generator are birds and wasps. When they build nests on your generator, it can lead to a short-circuiting and a possible fire accident. Hence, you need to keep them off by enclosing the generator in a structure.
Security and Storage
You cannot be storing your generator in the living room. Also, while you can keep it in the tools store, it would be more convenient if it is in a room where it’s more easily accessible. Often when you want to use the generator, it’ll be pitch dark outside. Hence, securing it in a special room makes it easily accessible.
You also need to keep it safe from thieves. Generators are expensive, and thus a theft would result in a significant financial loss to the owner. Additionally, you don’t want curious visitors and children getting hurt as they interact with the generator. Having it secured in a room where only you can access it is imperative in preventing such accidents.
Conclusion
We have covered several critical insights of a portable generator regarding excessive heating. On average, a generator’s exhaust’s temperature is between 575 to 935 degrees Fahrenheit. However, the temperature can get higher than this. In such a case, something is wrong with the generator’s combustion system.
If your generator’s exhaust is overheating, it’s essential to discover why this could be happening. We have listed several possible causes that include blockage of the radiator, a faulty gauge, and high outside temperature, among many others. Depending on how your generator is performing, you can identify the actual cause of overheating.
Further, we have highlighted the essence of venting your generator’s exhaust and how to do it. We have also given the ideal ventilation of a portable generator room. Lastly, we have discussed the essence of having a generator enclosure.
The insights are significant in giving your portable generator a top performance.
Sources
- Generator Protection: 7 Things that Wreck Your Generator
- Portable Generator Exhaust Temperature: How It Works & More
- What Causes Diesel Engine Generators To Overheat & How To Prevent It?
- Generator Overheating Causes & Prevention